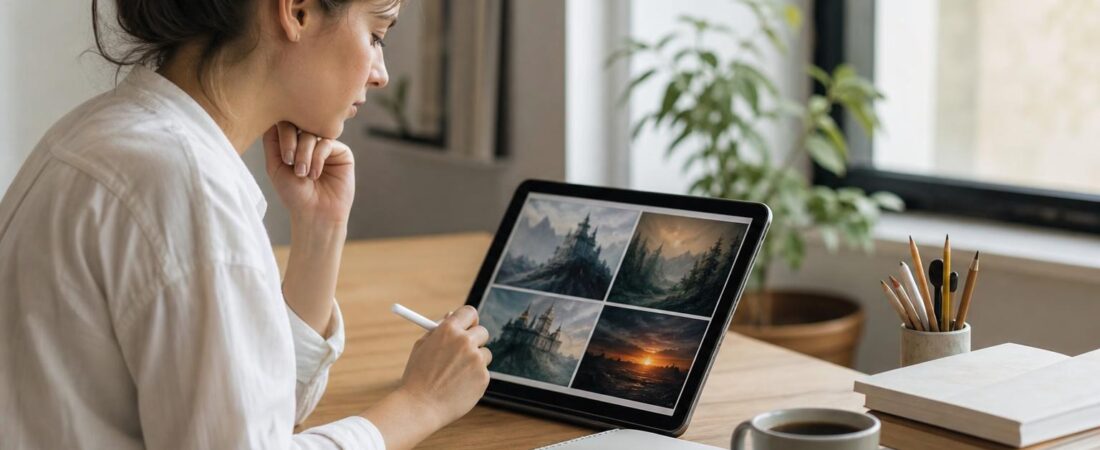
Most people’s first experience with AI image generators goes something like this: they type “a cool dragon,” hit enter, and get something that looks like it was painted by a distracted toddler with a box of melted crayons. The gap between what you imagine and what the AI produces is almost entirely a prompt problem. Writing effective AI art prompts for beginners isn’t about memorizing magic words: it’s about learning a simple structure and building on it. The tools available in 2026, from Midjourney v7 to Stable Diffusion XL and beyond, are extraordinarily capable. But they’re only as good as the instructions you feed them. Think of the prompt as a creative brief you’d hand to an illustrator. The more specific and well-organized that brief is, the closer the result will match your vision. This guide breaks down the essential building blocks so you can stop guessing and start generating images you’re actually proud of.
Foundations of Text-to-Image Engineering
The phrase “text-to-image engineering” sounds intimidating, but the concept is straightforward. You’re translating a visual idea in your head into a string of words a machine can interpret. The trick is understanding that AI models don’t “see” your mental image: they predict pixel patterns based on statistical relationships between words and images in their training data. That means your word choices directly shape the output in ways that aren’t always intuitive.
Understanding the Role of the Prompt Architect
You’re not just typing a description. You’re making dozens of micro-decisions: what to include, what to leave out, what to emphasize, and what order to put things in. A prompt architect thinks about hierarchy. The words you place first typically carry more weight in most generators. Saying “a forest with a knight standing in it” produces a very different image than “a knight standing in a dark forest,” even though the elements are identical. Your job is to prioritize what matters most visually and lead with it.
Core Components: Subject, Action, and Environment
Every strong prompt has three anchors. The subject is your main focus: a person, creature, object, or scene. The action describes what’s happening: standing, running, floating, decaying. The environment grounds everything in a setting: a neon-lit alleyway, a sun-drenched meadow, the surface of Mars. A bare-minimum prompt template looks like this: “[Subject] [doing action] in [environment].” For example, “an elderly samurai meditating in a misty bamboo grove.” That single sentence gives the AI a subject, a clear action, and a specific place. From there, you layer on style, lighting, and detail.
Platform-Specific Frameworks for Beginners
Not all AI art generators interpret prompts the same way. A prompt that produces stunning results in Midjourney might fall flat in Stable Diffusion, and vice versa. Understanding the quirks of your chosen platform saves hours of frustration.
Midjourney Prompt Structure for New Users
Midjourney tends to produce stylized, aesthetically polished images by default. Its prompt structure for new users is relatively forgiving: you can write in natural language and still get decent results. But you’ll get better results by appending parameters. The “–ar 16:9” flag sets aspect ratio. The “–stylize” value (shortened to “–s”) controls how much Midjourney applies its own artistic interpretation, with lower values sticking closer to your literal description. A practical starting prompt might look like: “a weathered lighthouse on a rocky cliff during a thunderstorm, oil painting style –ar 3:2 –s 250.” Start simple, then adjust parameters one at a time so you can see what each change does.
Stable Diffusion and the Power of Weighting
Stable Diffusion gives you more granular control through prompt weighting. You can assign emphasis to specific words using parentheses and numerical values. Writing “(golden hour lighting:1.4)” tells the model to prioritize that element more heavily than unweighted terms. This is incredibly useful when you want a specific detail to dominate the composition without rewriting your entire prompt. Stable Diffusion also responds well to comma-separated keyword lists rather than full sentences, so “cyberpunk cityscape, rain-soaked streets, neon reflections, aerial view, 8k detail” is a perfectly valid and effective prompt format.
Enhancing Visual Fidelity with Descriptive Adjectives
Vague prompts produce vague images. The difference between “a castle” and “a crumbling Gothic castle with ivy-covered stone walls” is enormous. Descriptive adjectives for digital art styles are your most accessible tool for pushing quality higher without learning any technical parameters.
Defining Digital Art Styles and Mediums
Specifying an art style instantly shifts the entire mood and rendering approach. “Watercolor,” “oil painting,” “digital concept art,” “pixel art,” “photorealistic,” “ukiyo-e,” and “art nouveau” all trigger dramatically different outputs. You can also reference specific mediums: “charcoal sketch on textured paper” or “acrylic on canvas with visible brushstrokes.” Combining a style with a time period can be especially effective. Try “1920s art deco poster illustration” versus just “poster illustration” and compare the results. The specificity does the heavy lifting.
Leveraging Texture and Material Keywords
Texture words add a tactile quality that flat descriptions miss. Words like “weathered,” “polished,” “rusted,” “translucent,” “velvet,” “crystalline,” and “mossy” give the AI concrete visual targets. Material keywords work similarly: “marble,” “wrought iron,” “frosted glass,” “worn leather.” If you’re generating a character portrait, describing their clothing materials (“silk brocade vest” vs. “vest”) adds a layer of realism that generic terms can’t match. Stack two or three texture and material descriptors per element for the best results without overloading the prompt.
Mastering Lighting and Camera Angle Terminology
Lighting and camera angles are where beginner prompts usually fall short. Most newcomers focus entirely on subject matter and forget that how something is lit and framed determines whether the image looks amateur or cinematic. Learning even basic lighting and camera angle terminology for AI will immediately elevate your outputs.
Cinematic Lighting Techniques for AI Models
Here are some lighting keywords that consistently produce strong results across platforms:
- “Golden hour lighting” creates warm, soft, directional light with long shadows
- “Rembrandt lighting” produces dramatic portraits with a signature triangle of light on the cheek
- “Volumetric lighting” adds visible light rays cutting through fog, dust, or atmosphere
- “Backlighting” or “silhouette lighting” places the light source behind the subject
- “Studio lighting with softbox” gives clean, professional, evenly lit results
- “Chiaroscuro” creates high-contrast, Renaissance-style light and shadow interplay
You don’t need to use all of these at once. Pick one lighting style per prompt and let it define the mood.
Perspective and Focal Length Commands
Camera angle terms tell the AI where to “place the camera.” A “bird’s eye view” looks straight down. A “worm’s eye view” looks straight up, making subjects appear towering and powerful. “Dutch angle” tilts the frame for unease or dynamism. Focal length references like “shot with 85mm lens” or “wide-angle 24mm lens” affect depth of field and distortion. An 85mm lens compresses the background and creates beautiful bokeh for portraits. A 24mm lens captures expansive environments with slight edge distortion. These terms are borrowed directly from photography, and AI models trained on captioned photos respond to them reliably.
Refining Results with Negative Prompts
Getting close to what you want is one thing. Removing what you don’t want is equally important. Negative prompts are one of the most underused features among beginners, and they can be the difference between a good image and a great one.
Negative Prompts Explained for Stable Diffusion
Negative prompts tell the AI what to avoid generating. In Stable Diffusion interfaces like Automatic1111 or ComfyUI, there’s a dedicated negative prompt field. You fill it with terms describing unwanted elements, and the model actively steers away from them during generation. A common starter negative prompt looks like: “blurry, low quality, deformed hands, extra fingers, watermark, text, oversaturated.” This doesn’t guarantee perfection, but it significantly reduces the frequency of common AI artifacts. Midjourney handles this differently: you use the “–no” parameter followed by the unwanted element, like “–no text” or “–no people.”
Removing Artifacts and Unwanted Elements
AI-generated images in 2026 are far better than they were even two years ago, but certain artifacts still pop up. Extra fingers, misshapen hands, floating objects, and blurred text remain common issues. Your negative prompt should target these specifically. Beyond physical artifacts, you can also exclude stylistic elements: “no cartoon style,” “no flat colors,” “no lens flare.” If you keep getting results with an unwanted visual element, add it to your negative prompt with higher weighting. In Stable Diffusion, “(deformed hands:1.5)” in the negative prompt field applies stronger avoidance than the unweighted version.
Best Practices for Iterative Prompting
The biggest misconception beginners have is that a single prompt should produce a perfect image. It almost never does. Iterative prompting, where you generate, evaluate, adjust, and regenerate, is how experienced users work. Treat your first result as a rough draft.
Start by locking in your subject and composition. Once you’re happy with the general layout, begin tweaking style keywords, lighting terms, and detail descriptors. Change one variable at a time so you can track what each adjustment does. Keep a prompt journal: a simple text file or spreadsheet where you save prompts alongside the images they produced. After a few dozen entries, you’ll start recognizing patterns in what works for your preferred style.
Seed values are another powerful tool. Most platforms let you lock the random seed number so that your changes only affect the elements you’ve modified, not the entire composition. This turns prompt writing from guesswork into a controlled experiment.
Don’t be afraid to borrow structure from prompts that others have shared. Communities on Reddit, Discord, and Civitai publish prompts alongside their generated images. Study what works, adapt the structure, and make it your own. That’s not cheating: it’s how every creative skill develops.
The real skill in writing AI art prompts for beginners isn’t memorizing vocabulary lists. It’s developing an eye for what’s missing in your output and knowing which words will fix it. Start with subject, action, and environment. Add a style and a lighting keyword. Use negative prompts to clean up the result. Then iterate. Within a few sessions, you’ll find yourself writing prompts that consistently produce images worth sharing. The only way to get better is to generate more images, pay attention to what changes, and keep refining. Open your generator of choice, type something specific, and see what happens.
Visit our AI tools page.